Start chat form settings
These settings allow you to customize the interface for starting a chat and define custom fields directly in the back office without scripting.
The start chat settings offer two options:
- Use default settings for all departments.
- Define start chat settings by department. For the start chat settings to take effect, you must explicitly pass the department.
- If you pass more than one department, the widget fields will automatically represent the selected department options.
I recommend watching these YouTube videos for more information on the available options:
This is the main window of the start chat form settings page.
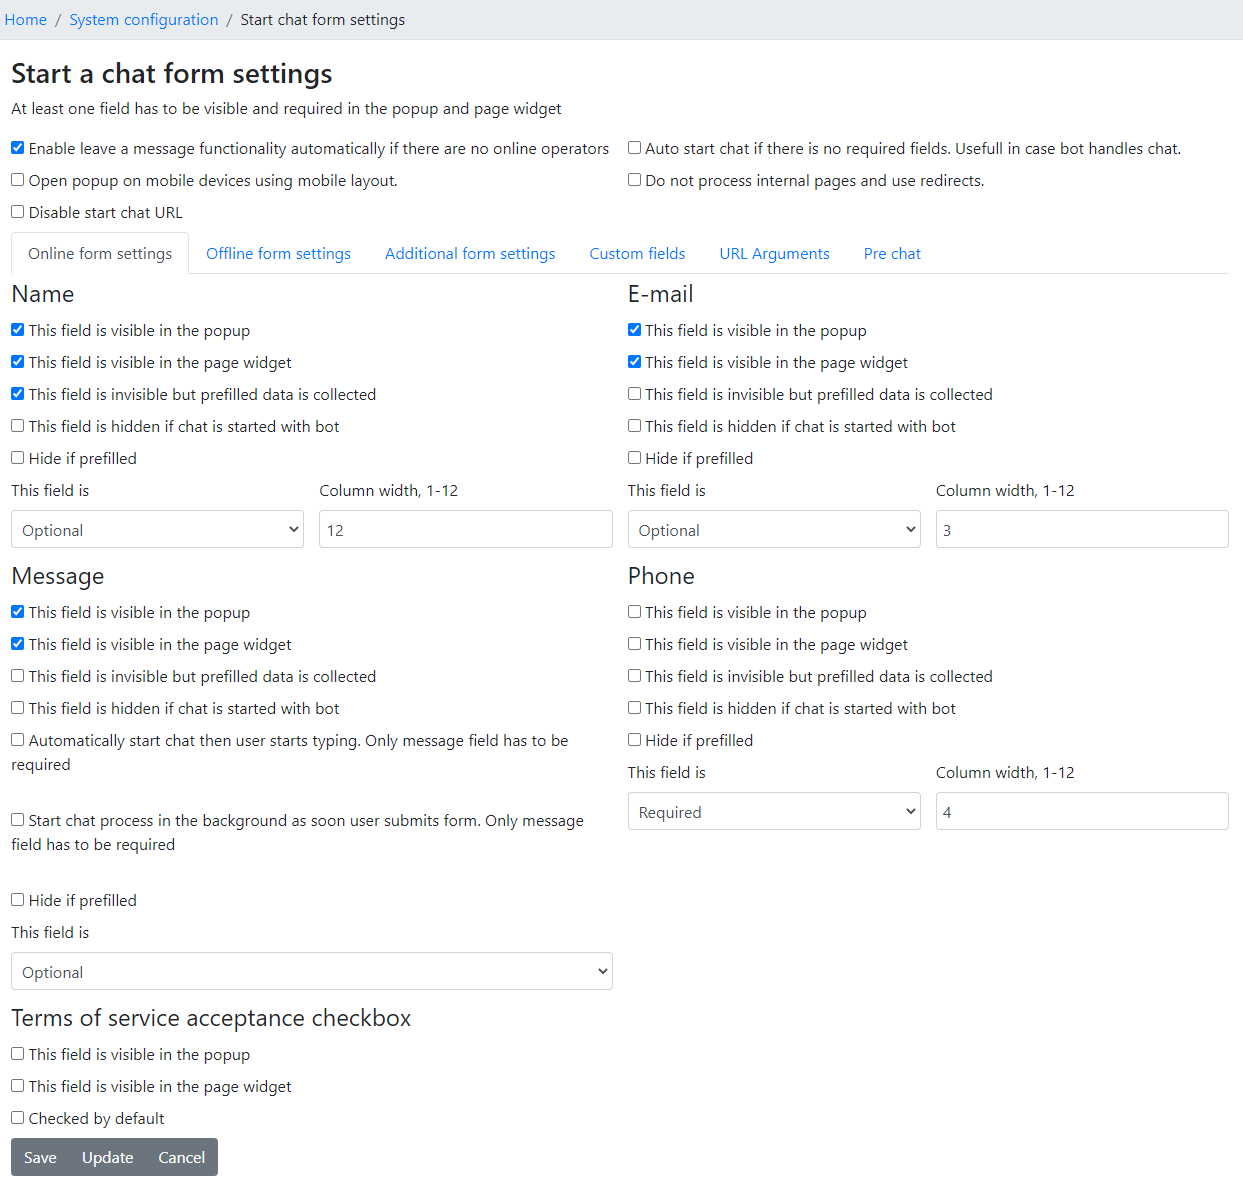
Attribute Definitions
Enable "Leave a message" functionality automatically if there are no online operators
Refer to offline messaging for more information.
Open popup on mobile devices using mobile layout
This option forces mobile devices to open a popup instead of using the same page widget.
Auto-start chat if there are no required fields. Useful when a bot handles the chat.
This is useful if you want to start a chat as soon as a visitor opens the widget. Ensure that you do not have any required fields configured.
Do not process internal pages and use redirects
This setting is not used in the new widget and only affects the old widget.
Disable start chat URL
If you do not want visitors to start a chat directly by typing the lhc_web/index.php URL, you can check this box to disable the form.
Checking this box also disables the chat/start URL, so chats can only be started from the embedded widget.
Alternatively, you can edit the settings.ini.php file and change the following:
'default_url' =>
    array (
      'module' => 'chat', // Change to 'user'
      'view' => 'start',  // Change to 'login'
    ),
You should also see this value; in this case, the default site access is eng:
'default_site_access' => 'eng',
Change the default URL in the corresponding section as well:
    'eng' =>
      array (
        'locale' => 'en_EN',
        'content_language' => 'en',
        'dir_language' => 'ltr',
        'default_url' =>
        array (
          'module' => 'chat', // Change to 'user'
          'view' => 'start',  // Change to 'login'
        ),
        'theme' =>
        array (
          0 => 'customtheme',
          1 => 'defaulttheme',
        ),
      ),
After making these changes, clear the cache.
Define custom fields for online mode
This allows you to have custom fields when a department is online.
Offline form settings
This defines the fields visible when a department is offline.
Additional Form Settings
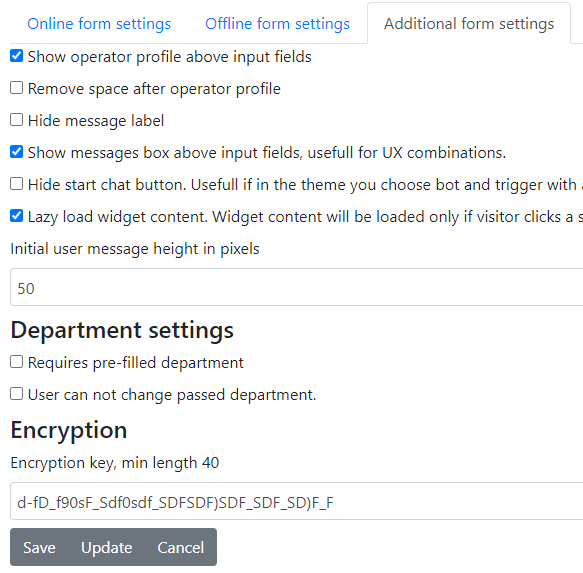
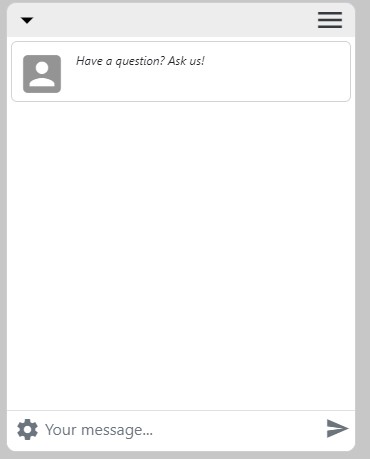
Show operator profile above input fields
The user will see something like this:

If you define a theme, you can change the logo and message text of this operator profile. Because the chat has not started yet, there is no operator profile to show.
Remove space after operator profile
This setting is used only in the old widget.
Hide message label
Usually, there is a "Question" label above the user message area. This option allows you to hide it.
With message label:
Without message label:
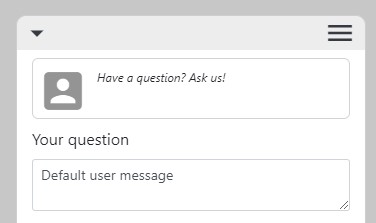
Show messages box above input fields, useful for UX combinations
If you only have the message label required and have checked this option, you should see a UI like this:
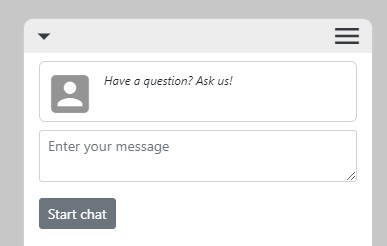
Hide start chat button. Useful if you choose a bot and trigger with buttons in the theme.
If your start chat form does not require any fields by default, you will only see a "Start a chat with us!" button at the bottom. You can hide this button by checking this option.
Lazy load widget content. Widget content will be loaded only if a visitor clicks a status icon.
By default, widget content is loaded before a visitor even clicks a status icon. This avoids any delay before showing widget content but also increases the website's payload. You can minimize the website's payload and accept a small delay before widget content is shown by checking this option.
Initial user message height in pixels
This setting is used only in the old widget.
Department settings
Sometimes, there is a requirement that once a department is prefilled, the user should not be able to change it easily. This section can help with that.
If you check "User cannot change passed department" and you use a popup window, you must also check "Hash arguments. Visitor will not be able to change passed arguments" in the embed code generation. If a user tries to change the department ID, they will get an error.
Custom fields
You can define custom fields directly from the back office. See this video: https://youtu.be/huUlx55velk?t=88
You can also prefill custom fields.
URL Arguments
This section defines whether, if you pass GET arguments directly in the chat start page, they can be read and stored.
This feature is not yet supported in the new widget. I suggest using custom variables instead.
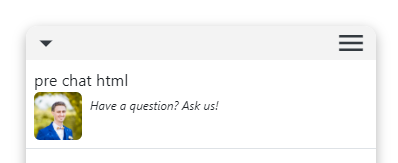
Pre-chat
You can have custom HTML to show before the start chat fields. This is useful for UI variations. A similar thing can be done with themes, though.
Pre-chat conditions
Possible use cases:
- With these rules, you can enable chat only for specific visitors.
- Go to maintenance mode and disable the widget completely.
- Provide chat only for specific users, and for others, leave a message that chat is available only for VIP visitors, for example.
How to handle maintenance during updates
- To go to maintenance mode, activate the "Activate maintenance mode" option in "Start a chat form settings" and enter a custom message for your visitors.
- To inform your operators, go to "System configuration > Notice message" and enter a custom message that will be seen at the top left of the back office.
Permissions
The required permission to manage start chat form settings is:
'lhchatsettings', 'administrate'
Video
See this YouTube video for more combinations: