Collect custom attribute
Introduction
The purpose of this response type is to collect custom attributes. See an example.
For an example of how to use this attribute from an extension, see this link.
Attributes
Description of all attributes and their purposes.
Attribute identifier
This is the attribute identifier. Its value determines where the collected data will be stored.
Here are a few examples:
lhc.email- Sets the user-provided data as the chat e-mail.lhc.nick- Sets the user-provided data as the visitor username.lhc.phone- Sets the user-provided data as the visitor phone number.order_number- A non-internal attribute. Can be any string.[file]- This attribute expects the visitor to upload a file. A regular expression match rule can look like(gif|jpg|png)
Attribute name
The attribute name is used only if it's not an internal attribute. It will be visible in the chat's additional information row.
Regular expression match rule
You can define a custom validation regular expression match rule. Here are a few examples:
^.{5,}+$- A string with a minimum of 5 characters.foo- The string "foo".^foo- "foo" at the start of a string.foo$- "foo" at the end of a string.^foo$- "foo" when it is alone on a string.[abc]- a, b, or c.[a-z]- Any lowercase letter.[^A-Z]- Any character that is not an uppercase letter.(gif|jpg)- Matches eithergiforjpg. This can be used to match a file extension.[a-z]+- One or more lowercase letters.[0-9.-]- Any number, dot, or minus sign.^[a-zA-Z0-9_]{1,}$- Any word of at least one letter, number, or underscore.([wx])([yz])- wy, wz, xy, or xz.[^A-Za-z0-9]- Any symbol (not a number or a letter).([A-Z]{3}|[0-9]{4})- Matches three letters or four numbers.([A-Z]{3}[0-9]{4})- Matches three letters followed by four numbers.
Internally, validation looks like this:
if (!preg_match('/' . $eventData['content']['preg_match'] . '/',$payload)) {
    // Further Live helper chat logic...
}
Custom event to validate
If you define an event, we will attempt to dispatch the event:
$handler = erLhcoreClassChatEventDispatcher::getInstance()->dispatch('chat.genericbot_event_handler', array(
    'render' => $eventData['content']['event'], // event you have put.
    'render_args' => (isset($eventData['content']['event_args']) ? $eventData['content']['event_args'] : array()),
    'chat' => & $chat,
    'event' => & $chatEvent,
    'event_data' => $eventData,
    'payload' => & $payload,
));
To learn how to listen for this event in an extension, see this example on GitHub.
Cancel button enabled on failed validation
You can show a visitor a Cancel button with your defined text. If you are using an extension, you will have to throw an exception to enable this option.
You can add a cancel button when using the Telegram module for users. To achieve this, you need to create two separate triggers:
- Create a trigger named
Cancel. Choose thesend textdepartment as the first step. Next, add aquick replyand specify the name for the cancel button, with the type set toexecute trigger.Choose the second trigger you've created, let's call itCancel Action,as the trigger to execute. - Create a trigger called
Cancel Action. Within this trigger, select thesend textdepartment and enter the text that should appear after cancellation. Add a second department,update current chat,and choose the actionremove any previous process.
Intro message
This message is shown before the user enters any required information.
Execute trigger on validation failure
You can choose to execute a custom trigger on a validation error. See this sample to learn how to allow a visitor to enter information two times before terminating a process.
Validation error message
If validation fails, this message is sent to the visitor.
Success message
If validation passes, this message is sent to the visitor.
Execute trigger on success
This trigger is executed once validation is passed and information is collected.
Execute trigger on cancellation; overrides message on cancellation
This trigger is executed once the visitor cancels the information-collecting workflow.
Message on cancellation
If you do not define a trigger for cancellation, this message is sent.
Soft event
If you encounter the error message, Please complete previous process, you can avoid this error by checking Soft event.
You can also avoid this error manually by executing the Update Current chat response type and choosing Remove any previous process.
File-expecting trigger example
Here's a scenario where file uploads are disabled by default but enabled by a bot automatically and, after a successful upload, disabled again:
- File uploads for the visitor are disabled.
- In the files configuration section, you have enabled
Allow visitor to choose only one file for the upload. - The very first trigger in the bot response is
Send Textwith the content!files no. This will enable file uploads for the visitor without sending any message. - The next response within the trigger is the file-collecting workflow itself.
File upload trigger configuration example:
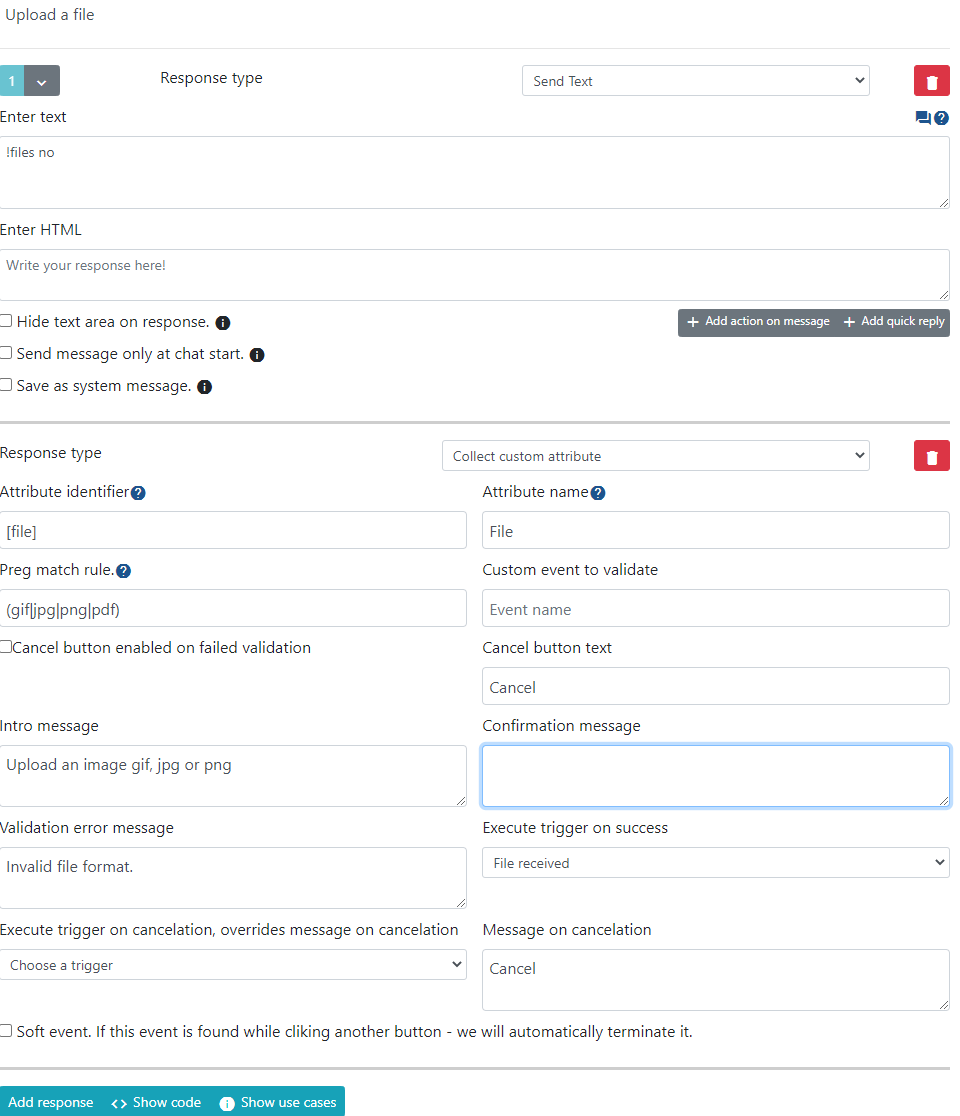
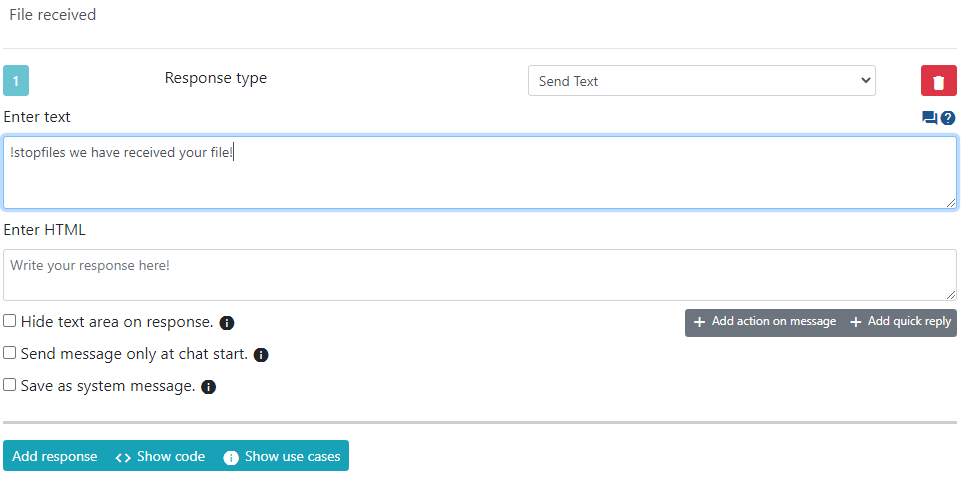
- On successful file upload, we disable file uploads by sending
Send Textwith the content!stopfiles we have received your file!