Working with Groups
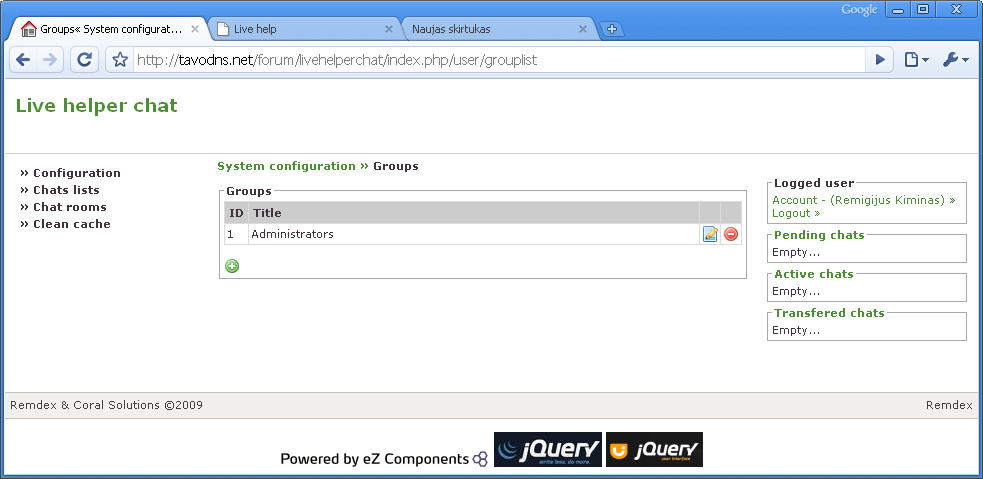
Groups are a part of the permission system and are used to hold users. To create a group, first navigate to the groups list and click the create group icon. A new group window, as shown below, will appear.
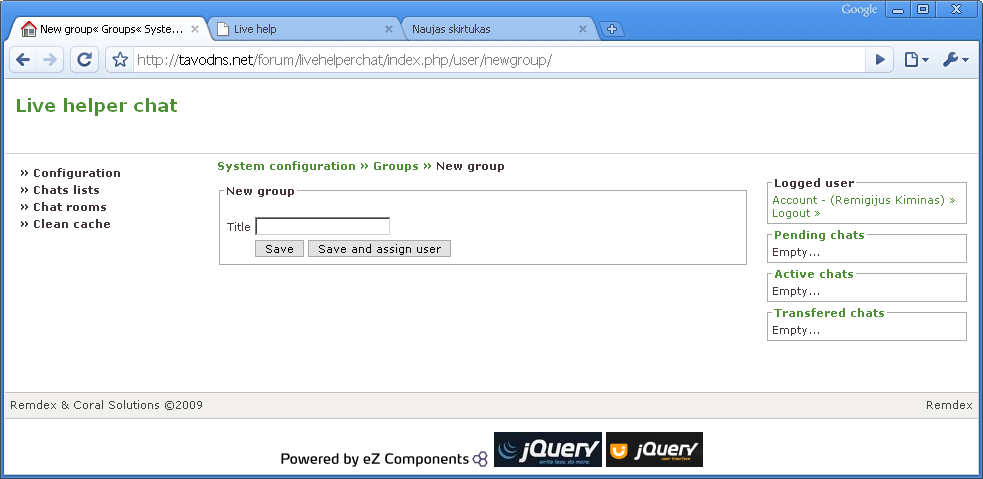
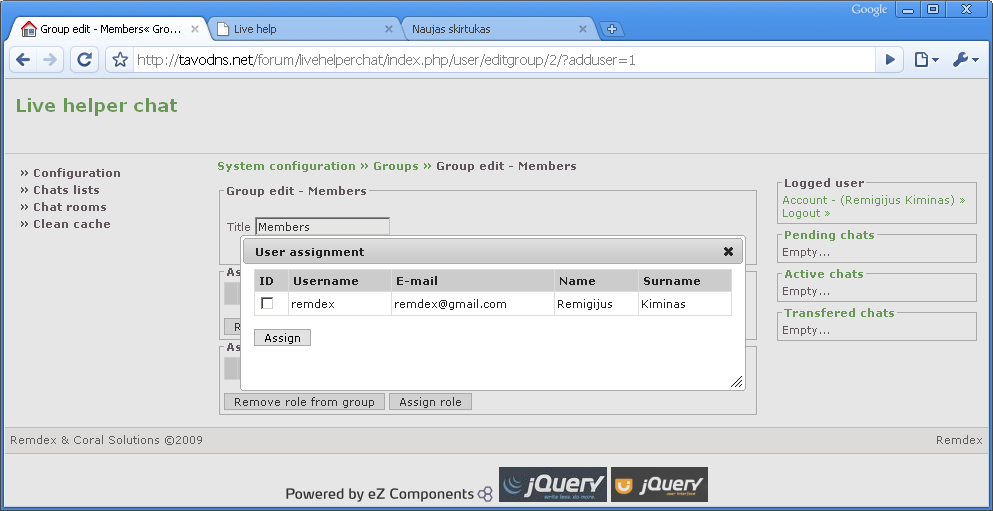
If you click "Save and assign user" after creating the group, you will immediately see the window shown below. From this window, you can assign any user to the newly created group.
To make the group fully functional, the next step is to assign a role to the newly created group. Roles can be assigned to a group from the group editing window.
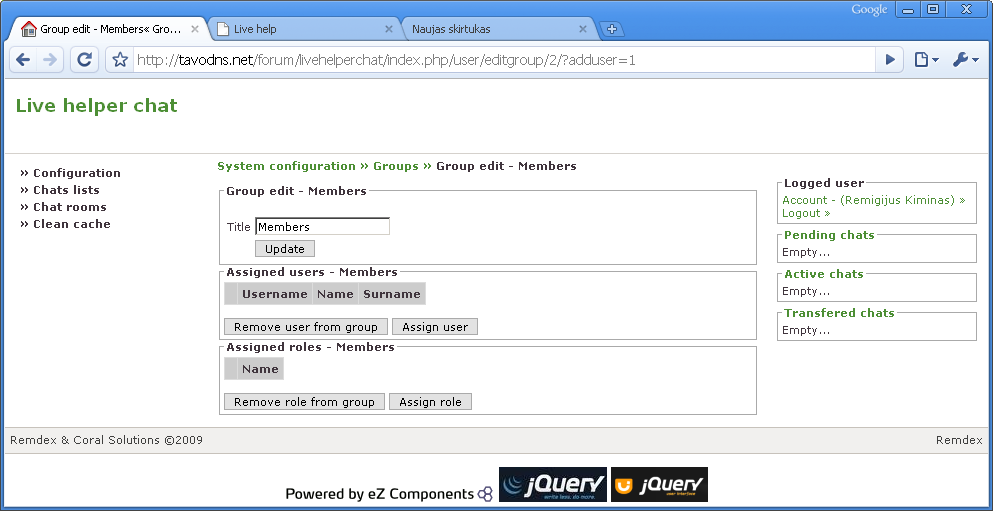
Clicking "Assign role" will display the window shown below.
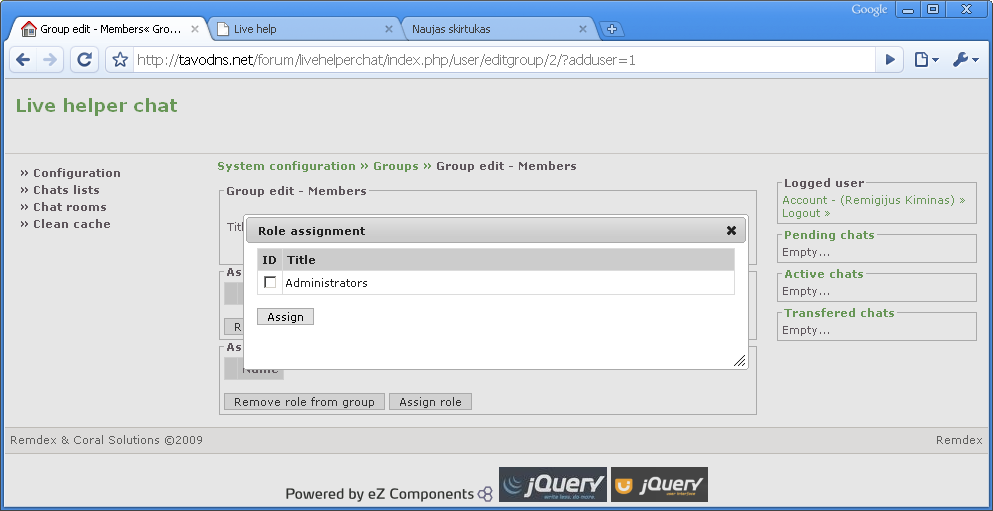
Then, simply select the role you want to grant to your group.
Deleting a group is also a very simple process. Just use the group list window and click the delete icon.